You will need:
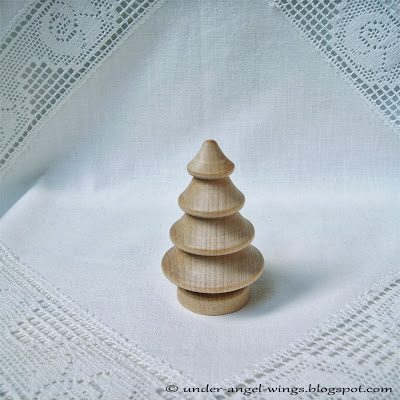
- The wooden Christmas tree.
- A white primer (gesso).
- The acrylic paints (green, black, purple, yellow, red, white).
- The thin round brush (for example, the size 1 or 2).
- The larger flat brush (for example, the size 10) for priming and painting the large surfaces.
- A water varnish.
- A glitter.
1. Priming.
Paint the tree with the white primer (gesso). This is not necessary, but using the primer makes the paint adhere better, and also the colors are more vivid.
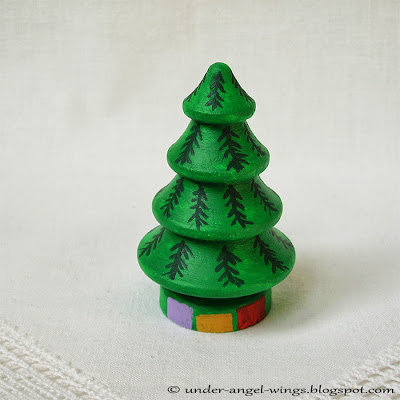
Paint the tree using the green color.
3. Painting the branches and the gift background.
Using the thin round brush, paint the branches and the shapes of gifts.
4. Painting the details.
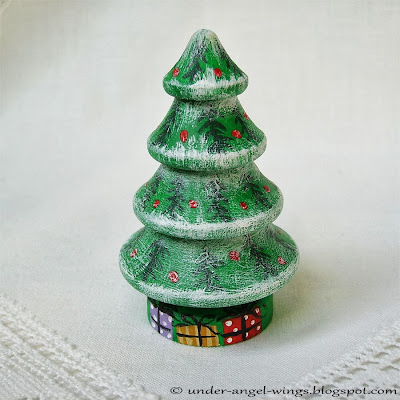
Paint the red dots and the details of gifts.
5. Painting the tree white color using "dry painting" method.
Paint the edges of tree white color using "dry painting" method. This method comes down to putting the dry larger flat brush in white paint, and then smudging it on the cardboard to remove the excess of paint. Next step is wiping the tree edges using the brush with white paint.
6. Varnishing and applying the glitter.
Varnish the tree, and then immediately put the glitter on it.
I wish you a successful and creative work :)


No comments:
Post a Comment